How to Stencil a Wall-Wall Painting Ideas
bathroom makeover ideas
A DIYer at heart, I'm always on the search for my next project. My house has one half bath that is sized pretty accordingly for a 10lb dog. Since my Pomeranian isn't that kind of potty trained and us human-sized individuals opt to use the larger bathrooms, I decided this bathroom would be my next experiment.
I had toyed with ideas like wallpaper, wainscoting, and just picking a solid color paint, but wasn’t sold on any of them. My brainstorming ultimately came to a revelation as I scrolled through patterns and stumbled upon what appeared to be Dalmatian print wallpaper. I instantly envisioned this quaint bathroom filled with a black and white Dalmatian print background and finished with a pop of color as the focal point.
finding the perfect wall stencil
I began researching wall stencil ideas and stencil wall art. My research brought me to a Dalmatian print stencil from STENCILIT, a fellow small business that designs and sells large wall stencils. I am an animal print enthusiast through and through, but they have dozens of other unique stencil patterns to choose from. The wall stencil was delivered quickly in sturdy packaging with easy to follow instructions along with a note that refers you to their super helpful YouTube channel.
supplies for painting
Since my bathroom walls were already white, I bought the following supplies:
- One quart of Behr Marquee Satin Paint in Cracked Pepper (my bathroom is less than 140 Sq Ft and one quart was more than enough)
- Small paint roller
- Small paint tray
- Paintbrush
- Blue painter's tape
- Drop cloth (old sheets/ large garbage bags work too)
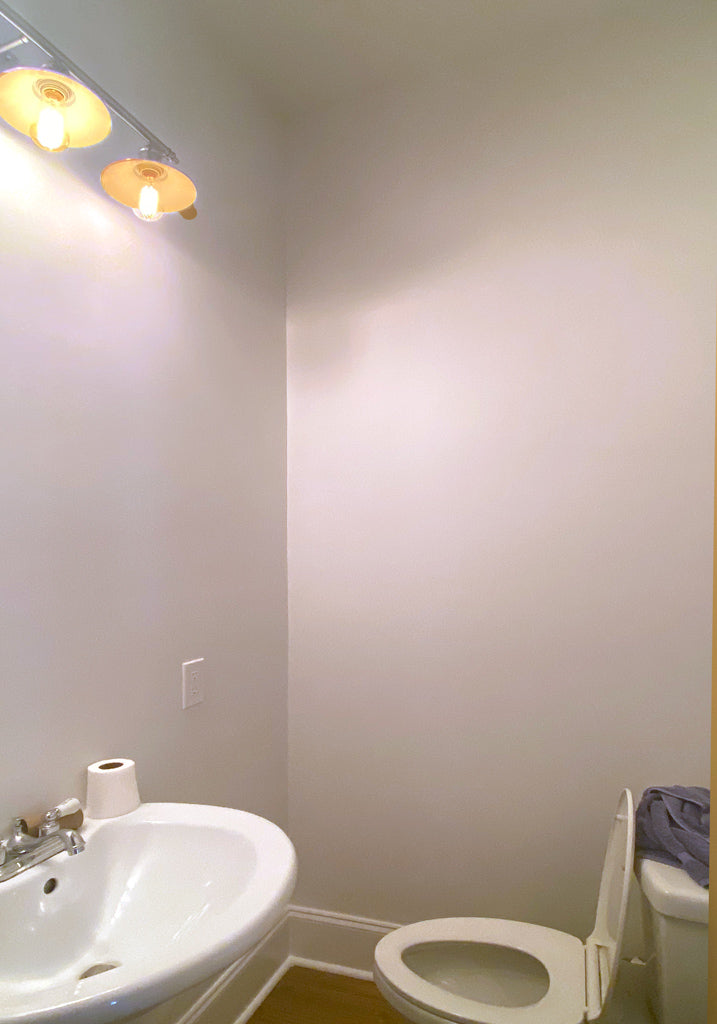
the before
painting with the wall stencil
The stencil has about a one-inch bleed on top to prevent painting outside the pattern but, keep in mind, there is a small branded cutout along the top you'll want to avoid painting over. I started in the upper left hand corner of the first wall, securing the stencil using painter's tape.

For obvious reasons, I set up an area outside of the bathroom for my painting supplies. After sufficiently stirring the paint, I poured a small amount into the tray, ran the roller through it and used an old cardboard box to run the roller over to remove any excess paint.
The first stroke of the roller was slightly unnerving. A more patient person than myself might practice this step with the stencil over paper prior to painting the wall to get a better feel of what to expect. Luckily, applying minimum pressure with each stroke of the roller and holding the stencil in place with my other hand proved successful. The painter's tape held the stencil in place well but holding the stencil down next to each spot I was painting helped secure it even further and prevented the paint from running.
After sufficiently filling in each spot, I carefully removed the stencil, checked that the back side was dry and moved it directly below the portion I had just painted. The top layer of dots on the stencil matched up with the bottom layer I had just done. I continued painting downward until I reached the bottom then moved back to the top of the wall to the right of the first portion I painted. The sides of the stencil match up in the same way the top and bottom do.

stenciling corners
If you are doing more than one wall you'll need to decide what you want to do once you reach the corners. I had originally stenciled the first corner of my bathroom but ended up painting white over those spots. Since it is such a small room, I felt leaving a break in the pattern and emphasizing the edges of the room looked best.
If you do decide to paint them, take it one wall at a time. Unless you're lucky enough to have the edge of the stencil miraculously meet up with corner, secure the beginning of the stencil to the portion of the stencil that meets the corner with painter's tape. The stencil will buckle if you try to crease it across to the new wall.
Use the paint roller to cover the pattern until you reach the corner. Use your hand to keep the stencil secure against the portion of the stencil in the corner and use a small brush to paint these spots. I'd recommend waiting to move to the second part of the stencil/new wall until any paint that may have bled onto the back is dry.
The rest of the process is relatively straightforward, repeating the stencil until you get into tricky spots. STENCILIT provides a smaller stencil to use in hard to reach places and for touch ups. This was incredibly helpful beneath the sink and on the sides of doors where the wall was only a few inches on each side.
the after
Finally, with a brush, I touched up a few spots that needed a little extra paint and allowed everything to dry. My handy fiancé installed two floating shelves and a classic black framed oval mirror. I added this this framed vibrant abstract landscape painting, a couple handmade light purple ceramic vases, some fresh cut camellias -and voila!


